How to Layer for Cold Morning Hunts
A practical clothing system for alternating short walks and quiet stops, with simple checks that help prevent damp layers and creeping chills.
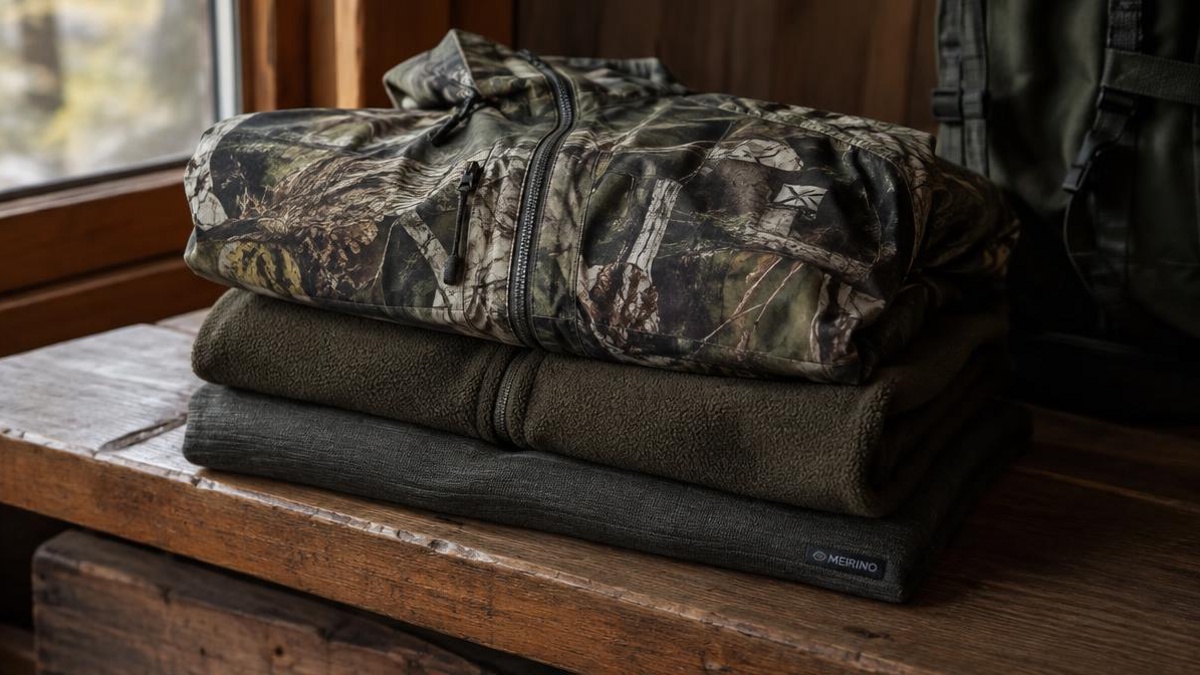
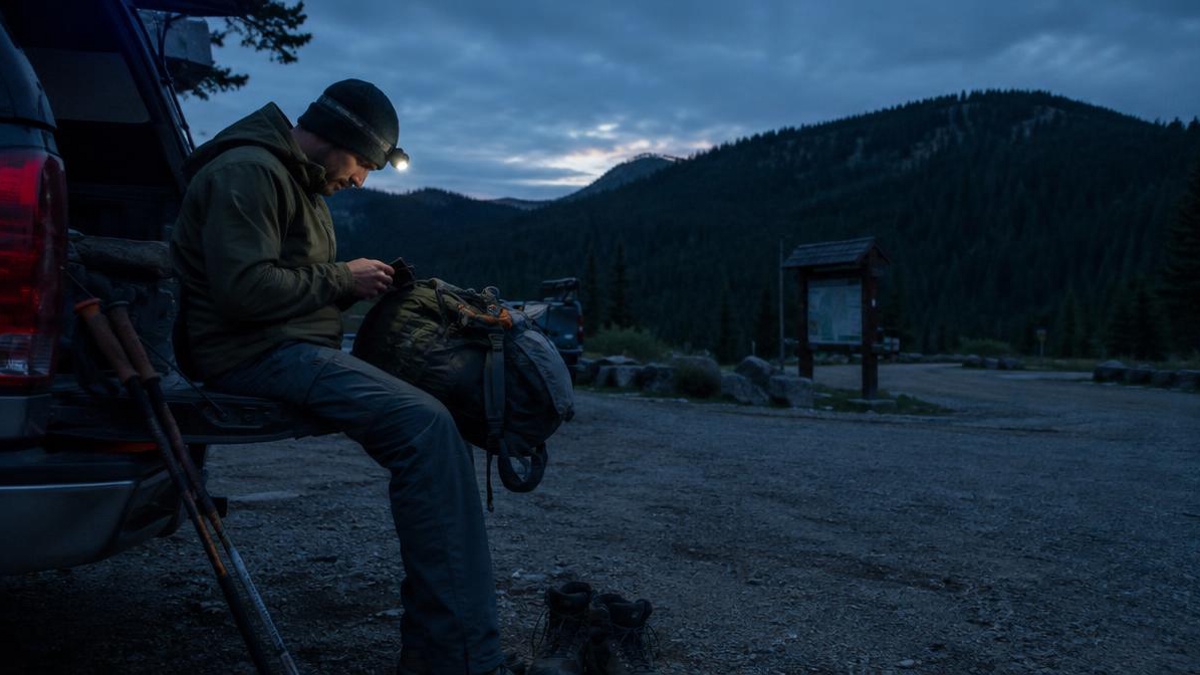
Cold morning hunts are tough on clothes. We change from steady motion to complete stops in a split second and as we climb for short periods our clothes will become damp from sweat. Then as we arrive at our hunt site that moisture will cool rapidly and the clothes that were fine for the climb can become cold and damp and even wet. We don’t need to wear the heaviest clothing possible, we can manage the heat, sweat, wind and cooling with layers that we can add or remove before we develop discomfort.
Start with a Wicking Base Layer
This layer must wick your perspiration and transfer it away from your skin. The fit of your close-fitting civilian base layer for cold weather activities must allow for good movement at the underarms and around your waist. A wet undershirt can feel so much colder on quiet stops than you would expect.
Check your base layer before you leave for your hunt. If the base layer feels clammy while you’re loading your vehicle, walking around your camp, or even just walking around your home then the same base layer could be too warm for the beginning of your hunt. Remove outer layers before your hunt to allow for cooling. Also, remember that cotton feels great when you first put it on but it dries slowly when it becomes wet.
Add Warmth You Can Remove
The insulating layer is generally a medium-weight fleece or synthetic insulated piece that is able to keep your warm while still allowing moisture to evaporate. This layer should fit over the base layer without being too tight, thus restricting movement, and should be able to be easily operated while wearing (i.e. zippers to front, etc).
Rather, you will dress for the first part of your trip and then add clothing as you slow down. Pay close attention to the sweat on the back of your arms and on your neck and chest. Remove the layer or loosen it up before it becomes saturated with moisture.
Use Vents Before You Feel Overheated
To open vents, front zip, underarm zippers or pocket vents will all work during the climb and very slowly close them off as your pace drops. Small amounts of opening and closing are much more effective than removing a layer completely and getting immediately cold.
Also be aware of small symptoms that you might overlook. A moist collar, moist skin on your back below your shoulder straps, or wet patches on your back from sweat that has dripped down there from your neck – all these are signs that heat is being produced and that moisture is building up. Don’t wait until your sleeves are wet or your clothing feels cold to the touch. Stop for a few minutes in a sheltered spot, make some adjustments and allow the damp clothing to dry out.
Prepare for the Stop Before It Happens
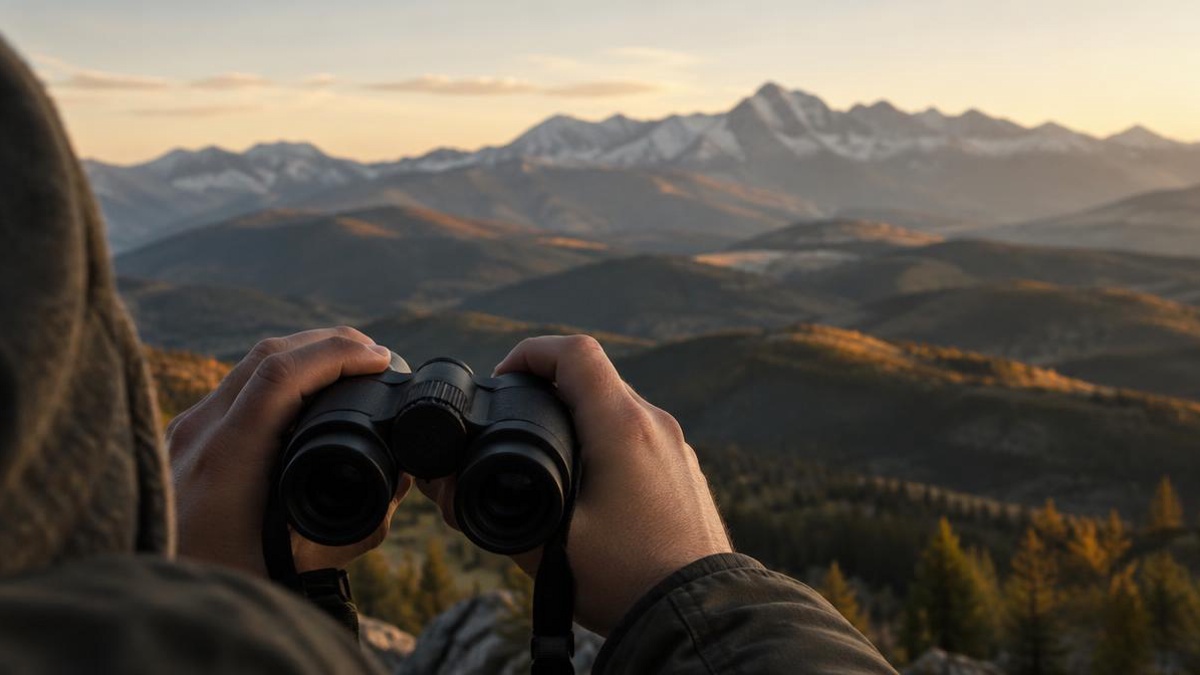
A quiet stop to glass a bird or to observe animals also changes the clothing problem for the external factors. So you have to add the outer layer which you have been carrying in your daypack or on your back. It has to be easily accessible in order to throw it over your mid-layer quickly. Adjust as you slow down to a stop. Don’t wait until you start to shiver.
Also pay attention to potential trouble spots such as the back of your neck, the waistband, your wrists and the space between your mid-layer and outer shell. While a gap between these could let in cold air, tight cuffs can create problems by restrictating your movements and being unable to be shifted up and down. If your hands feel cold then check your sleeves for dampness and your cuffs for being too tight before searching for more clothing to add.
Inspect Dampness and Damage Before Continuing
In addition to checking for moisture, inspect for such items as open zippers, torn cuffs, flattened insulation, and wet pocket lining. When stopping for a break, run your hand inside your jacket and up the back of your base layer. If either feels wet, you can try to vent, change, or dry that item before continuing on.
Persistent shivering, numbness, confusion, unusual tiredness or pale/soggy feeling skin can all be a sign of exposure turning to a more serious situation. Consider ceasing activity and starting to warm up affected parts before further damage occurs. Although clothing can prevent such situations, clothing cannot make up for poor judgement when exposure becomes serious.
In between hunting trips, make sure to be carefully washing hunting clothes and check out the care label before drying or washing each layer. Allow the layers to fully dry and then store your cold weather clothing by unzipping all zippers and checking the seams for any damage. Inspect your gear for any damage before the next hunting trip and make any necessary repairs.