Preparing for Hunting Season in the Rockies
A practical decision note on boots, changing weather, field clothing repairs, and the trip details that are easiest to overlook.
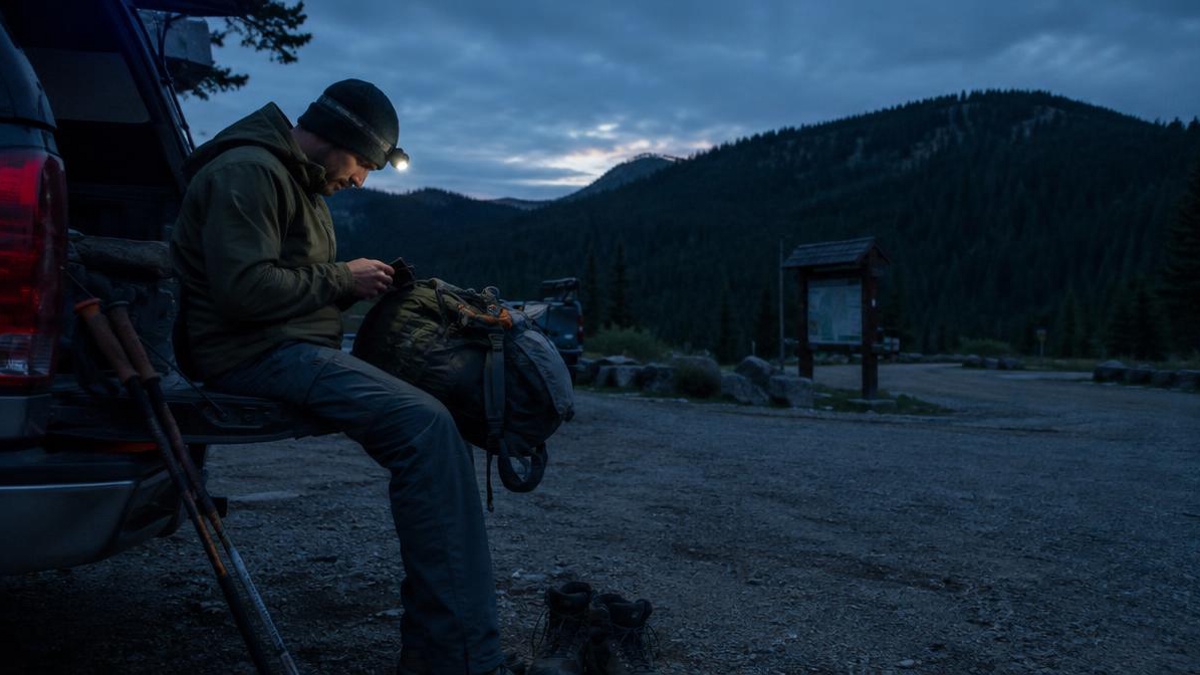
Start with the trip, not the gear
A Rocky Mountain trip often reveals the weak points of a hiker’s preparation by the end of the day. However, a good preparation for a trip can start with some basic questions like the route, terrain, packed weight, trip length and the distance to a repair shop or to resupply.
The simplest plan in writing is best. Outline the route, expected return time and the make, model and color of your vehicle(s). Include the best way for others to reach you in case of an unexpected return. Do not assume that others will understand your circumstances should you arrive late.
The details! Check the fuel, the food, how you will be storing water, the charge on your batteries and what alternatives there are for navigating should your primary method fail. Consider how you will be protecting your valuable items from the rain. And get the latest information on how to access your trip from appropriate, current sources – not from an old screenshot or memory! Allow time for last-minute checks before you leave.
For your vehicle, for your equipment, pack to travel as if you were going on the first part of your trip and returning on the last part of your trip. Pack your footwear, your layers, your rain protection, your water, your repair supplies, etc. near to the place where you will exit the vehicle or your equipment.
Let the ground decide on footwear
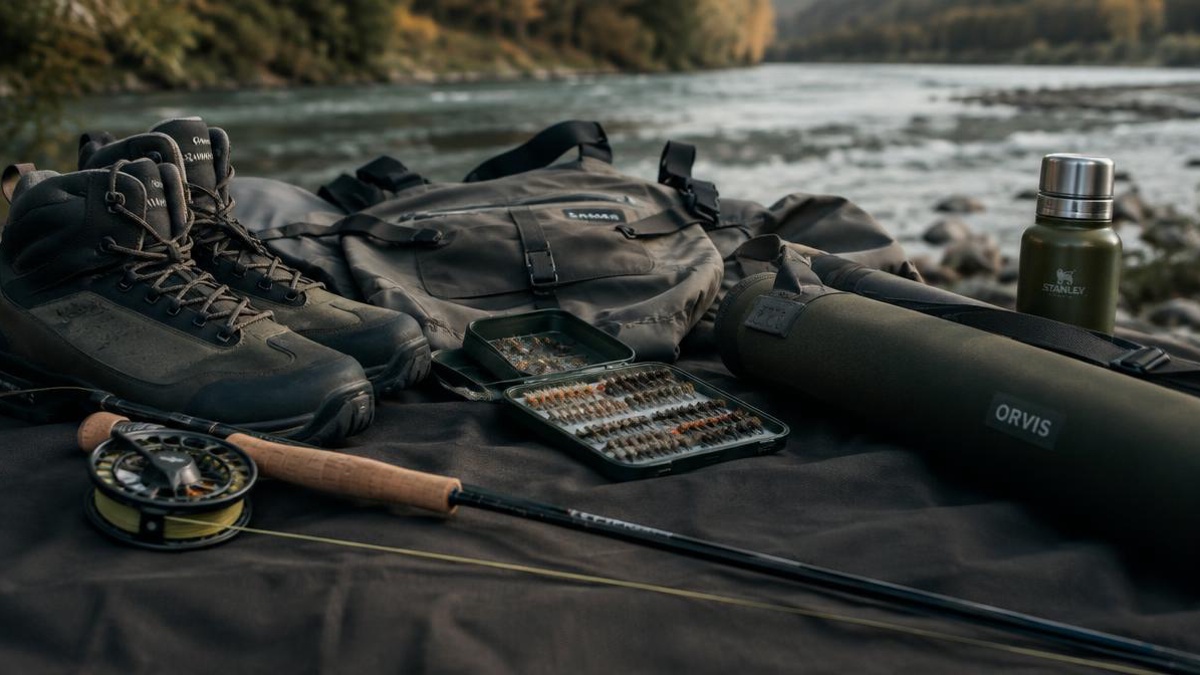
Choose footwear with consideration of the ground you will be traveling on and the amount of weight you will be carrying. For example, light and flexible boots are ideal for use on smooth, well-traveled paths and in dry, warm conditions. However, stiffer boots are often required for traveling on rocky, uneven ground and with a very heavy pack.
It’s better to choose boots based on a comfortable fit, which will allow your feet to expand during long ascents, rather than relying on a long list of features that are largely irrelevant. Heel lift, toe contact, pressure along the arch of the foot and room for the normal swelling of your feet are more important criteria than anything else. It’s worth trying on boots with the socks you intend to wear and going for a long walk in the boots before you buy them.
Start testing out your new boots a couple of weeks prior to your trip. Just as you would test drive a car, test out the boots on day long trips around home to see if they have any problems. Also, test out different types of socks to see what type of combination will work the best for you. Bring along a couple of spare pairs of socks in a waterproof bag and change into a dry pair of socks every chance you get.
The Waterproof & Water Resistant layer of your footwear is there to protect your feet from wet grass, shallow snow and changing conditions. The boot will not prevent moisture from entering the boot but it will help to stop it from wetting your feet. Give your footwear time to dry out as often as you can.
Plan for weather that changes
Your departure forecast is only good for the time you leave the trailhead, not the time you arrive. So although it may be warm and sunny when you start out, plan for different conditions by the end of the day.
The clothing system should be made up of layers including a waterproof outer layer, insulating layers, and base layers to wick sweat. The layers can then be worn and removed as needed based on activity level. As a person slows down and becomes less active, layers that felt fine at higher activity levels can suddenly not keep the person warm enough.
Rain protection is essential for any mountain trip and, even if the weather forecast is good for the start of your trip, it’s always wise to bring it. Choose a ‘shell’ that fits easily over all your layers, doesn’t restrict your movement and will close up properly. Make sure the hood covers your head and will not obscure your vision. Gloves and a warm hat can be easily left behind but are easily carried and should be left in an easy to reach place.
Be prepared to change your plans as weather affects your day. This can happen quickly and indeed cold, rain, poor visibility, fatigue and damaged clothing can all mean that continuing on your way is no longer safe or sensible. You should therefore identify before you go the circumstances that will mean you end your trip early or return to base. It is much harder to make this sort of decision when you are tired and cold.
Repair clothing before a small tear spreads
A repair kit should consist of materials that can repair the clothing and equipment that you take with you. In addition to adhesive fabric patches, strong thread, a needle, spare buttons, cord, and repair tape for tears in clothing and rips in equipment, also take a sewing kit with you.
When it comes to a clothing repair, you should test the materials at home and clean, dry and reel in any loose threads prior to making the repair. As with anything you plan to use for back country travel, make a mock repair first to ensure it will hold.
Duct tape is good for emergencies but bad for long term use as it can leave adhesive residue on fabric, make fabric stiffer, and does not perform well in damp or wet conditions. Take enough repair materials for more than one repair, as trips last several days.
Test the complete system
Test your setup out before leaving. Lay out your boots, your socks for the trip, all of your clothing for the trip, your backpack, your rain gear, your repair kit, etc. Walk around in your boots. Test sitting down and bending over in your clothing. Make sure all of the pockets on your clothing will function with gloves on. Make sure all of the closures on your clothing will function with gloves on. Look for any signs of rub points. Make sure there is no restricted movement. Look for any loose parts or hardware. Test for any places where rain could enter.
Test the light alternative, and see if it is appropriate for your short trip and mild weather conditions. Longer trips, cold weather and wet conditions need more insulation, better protection, and possibly even a second set of clothes. Try to choose the lightest alternative that meets your demands for terrain and weather, is comfortable for long periods of time, and is repairable if necessary.