Packing a Daypack for Changing Mountain Weather
A compact pack works better when the gear you may need quickly is easy to reach and the gear you probably will not use stays home.
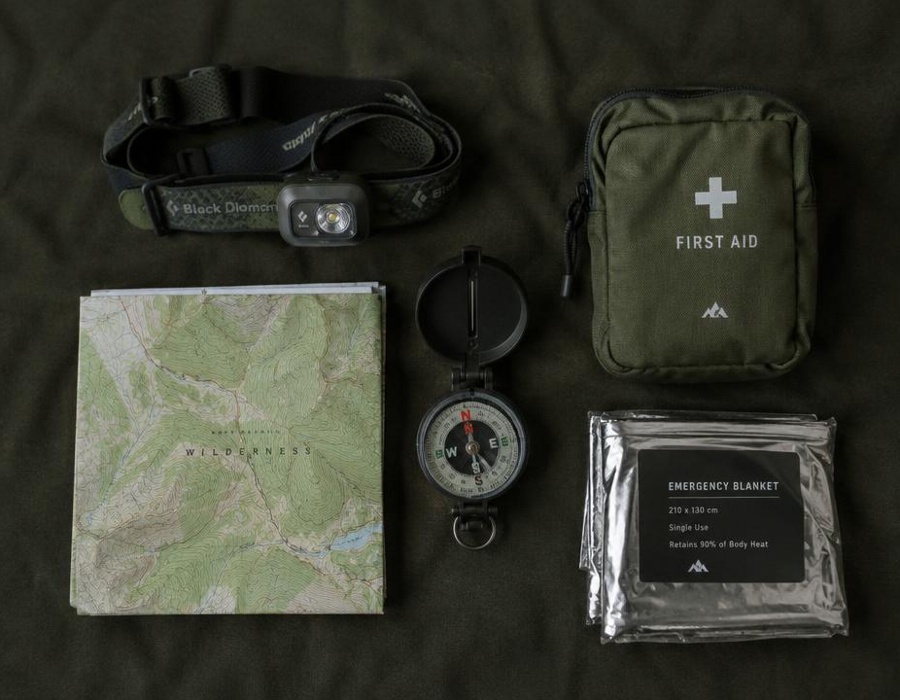
A compact recreational pack can become very uncomfortable very fast. All the gear you brought for your trip is buried beneath your food. A warm layer is tied to the outside of the pack and could get caught on a branch. Small essentials are lost in a big crowded compartment. The good news is that daypack organization is relatively easy to set up. Good daypack organization will keep your likely use items close to you. It will protect your sensitive gear from the changing mountain weather. It will force you to make a thoughtful trade-off between being prepared and being heavy.
Start with the weather problem, not the pockets
You need to organize your daypack around the problem of weather, and also around the issue of where you will be stopping along the way. A short day hike from a trailhead will require a different approach to packing than a full day of hiking above the tree line. Check the weather forecast before you leave, and then organize your pack to deal with worst case scenario.
Organize the items that you may need within the next few minutes to three groups on a table. The first group contains the items that you need for the start of your trip (the items for the weather, sun protection, water, food for immediate consumption, and navigation and communication items). The second group contains additional items (an extra warm layer, minor first aid items, and spare gloves etc.). The third group consists of items for extreme situations (e.g., for a remote area or in extreme weather conditions). Look at the third group very critically.
Keep rain layers within one move
The rain layers are probably your most used layer for short unexpected changes in the weather. This means that they should be the most easily accessible. This means storing them near the top of your pack, in a wide outer pocket, or even in a special pocket for your rain layers. Do not pack your lunch or extra layer on bottom of your pack and then place your rain layers underneath.
Shell and insulation are two different functions and should be treated as such. Therefore, you need a shell layer for precipitation and a warm layer for temperature, and pack them in simple stuff sacks or even dry bags to protect the rest of your gear from moisture. A pack cover is great for protecting your pack from the rain but it’s no protection from wind or from the water entering the pack when you open it up.
Pack covers are all well and good but can fail to protect in high wind. Try to use internal protection of your gear instead. This is especially important for things such as electronics, maps, and other clothing, etc. Keep them dry!
Build an order of access
If you have some items that you do not think you will need on your short trip out, put them at the bottom of your pack. The middle of the pack is ideal for soft items like folded fleece layers and the rest of your supplies. The top of the pack is where you put items that you may need to retrieve for a short stop on the way – items such as your rain gear, gloves, sunglasses, snacks, etc. and your map and/or other navigation items.
When organizing gear into pockets, remember that small pockets for small items only work when all similar items go into one marked pocket or sack for that type of article. For example, a whistle, lip balm, lighter, first aid kit, repair kit, etc. all go into one marked pouch for those types of items. Then, when you go to look for that item, you know exactly where to look.
When packing the items in your daypack, remember to balance out the items in the pack to prevent something like a heavy water bottle or a packet of dense food from becoming a huge discomfort on your back. For example, a dense camera would be best on the opposite side of a water container.
Decide what stays behind
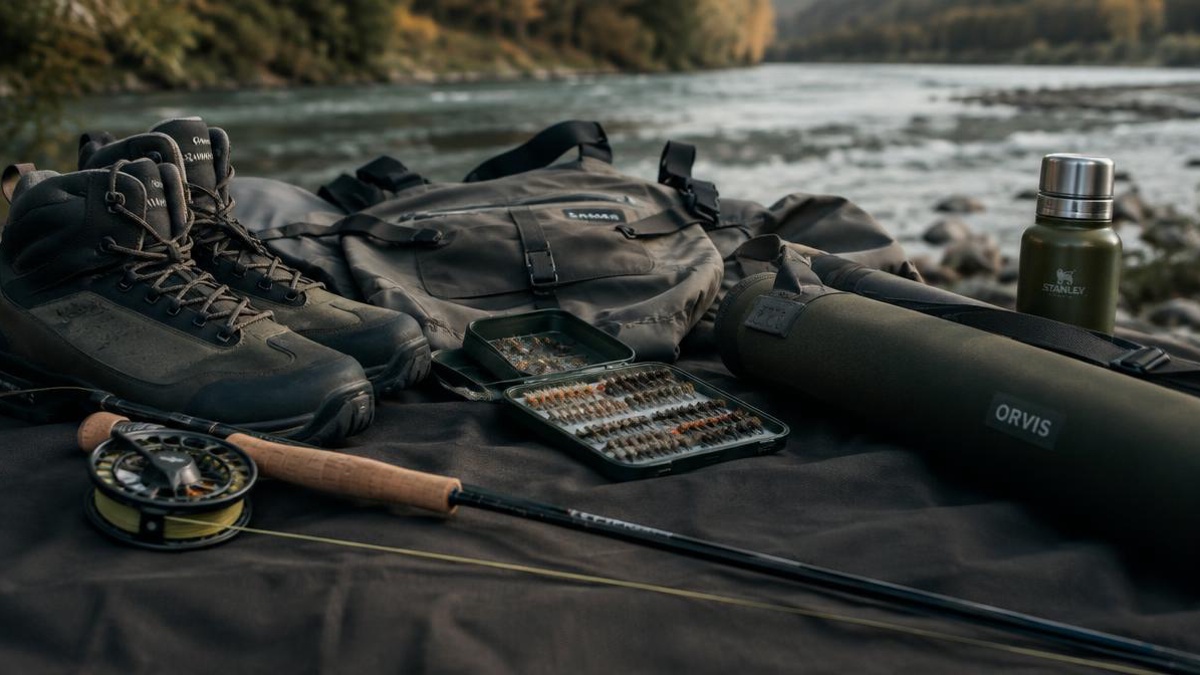
In terms of making small packs better, the easiest thing to do is to remove the things that you bring for problems that will not occur on the trip that you are planning for. For example, multiple knives, duplicate tools, large containers, extra clothing (in different weights), full-sized toiletries, etc. ALL of these items take up a lot of room in a small pack. The gear for hunting and fishing are also good candidates for being culled down to the items that will solve the problems for the specific day’s activities and nothing more.
So to summarize, just look at 3 things before adding an item to a small outdoor pack for a day’s trip. 1) What problem does it solve? 2) How likely are you to encounter this problem? 3) Will another item in your pack solve this problem already? Note, the lightest item is not always the best item to bring on a small outdoor pack for a day’s trip. A warm layer could be better to bring on very cold days and exposed routes. Accessory items to other gear are not as necessary on short, easy day hikes near trailheads with easy access to assistance if needed.
Leave room in your pack to carry that wet rain shell, extra layer, or that odd find you stashed while out on the trail. The most organized pack is one that is packed loosely enough to add extra gear on the go without forcing the whole thing to reorganize itself into a mere sack.
Check the load before heading out
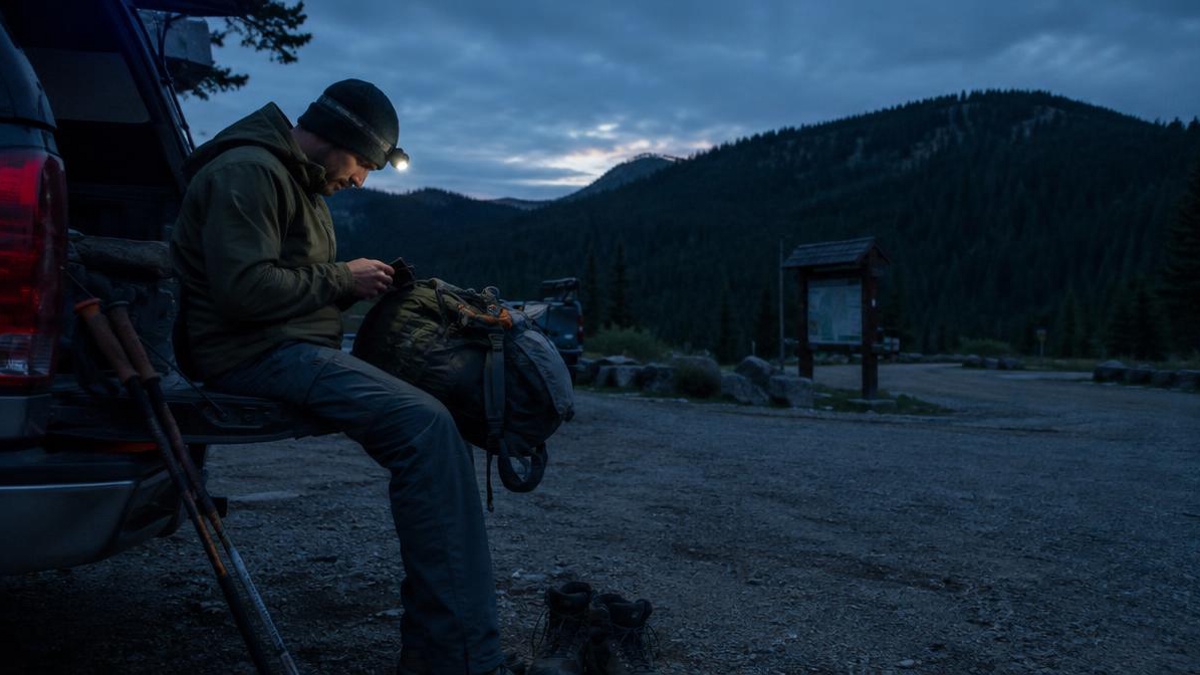
Walk around wearing the fully loaded pack for a few minutes to ensure that the pack isn’t going to shift uncomfortably, that the straps are going to hang evenly, and that there are no hard objects riding on your back. Open up all of the pockets to make sure that you can easily access the contents of the pack while it is on your back.
Back home check all closures, zippers, seams and also the condition of your rain layers. Store wet gear only after it has dried and throw away food packages and damp clothes after your trip. In this way you are always well prepared for the next outing in mountain weather without packing too much for ordinary situations.